


There is this amazing show on Netflix called Nailed It, which is basically a hilarious show about Pinterest fails. If you haven’t watched it, you better get to it the next time we have a hurricane-vacation.
The reason I bring up this comedic gem is that today is National Cookie Day, and I thought, “NAILED IT!” I, of course, thought it would be genius to try and make homemade sugar cookies (WITH homemade royal icing) with my daughter Audrey over the weekend. And well, I’ll let you be the judge of whether we “nailed it” or not!
Let me begin by saying the only cookies I’ve ever made are chocolate chip cookies (which half the time are burnt or are super crispy) or the holiday-inspired cookies from Pillsbury (which, fun fact, also turn out burnt or super crispy). The fact that I even thought of trying to make HOMEMADE cookies from scratch still makes me chuckle. I mean I think you can call basically call me Martha Stuart now.
The first thing first was to find a simple and easy-to-follow recipe, so in pops PreppyKitchen.com.
The recipe gave lots of tips and tricks, on top of pictures and an easy to follow recipe for both sugar cookies AND royal icing (who doesn’t love a one-stop-shop!). Next up, ingredients to gather. Audrey and I made a fun shopping trip of it to Michaels and Publix. Audrey even got to choose her own special sprinkles. But honestly, when will I EVER use cream of tartar again?! I guess I’ll be making a ton of royal icing and selling it on the side.
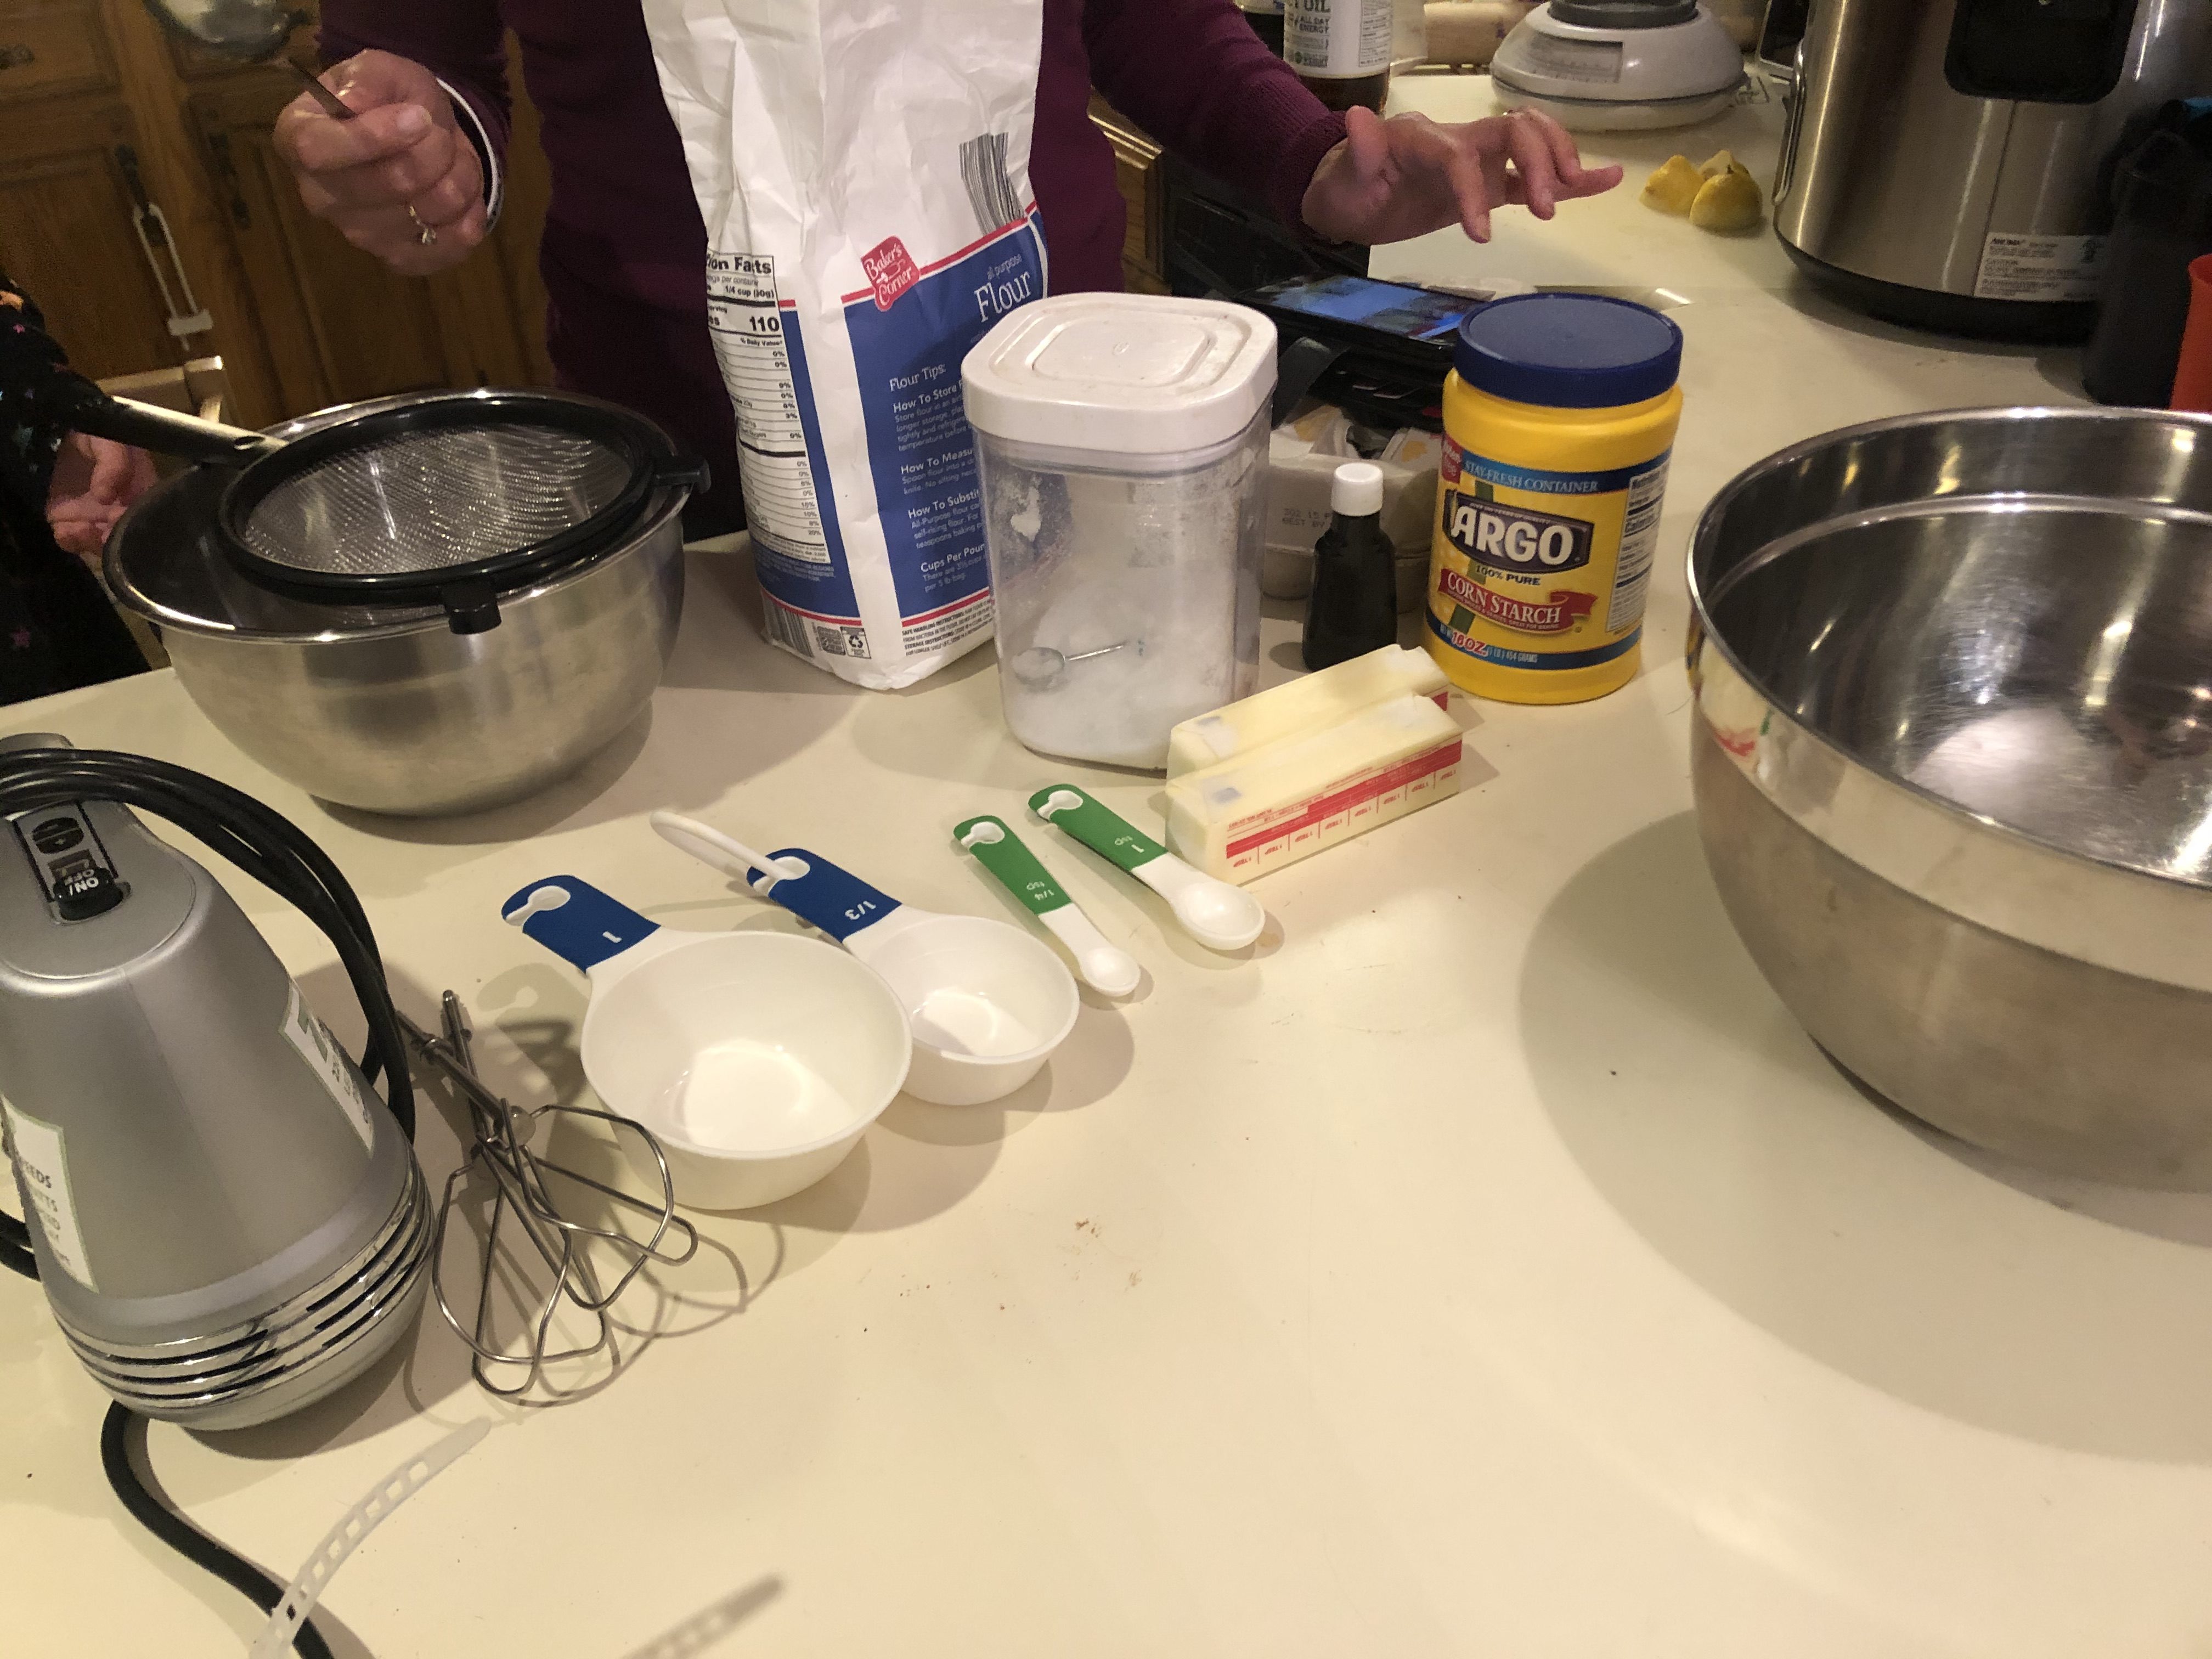
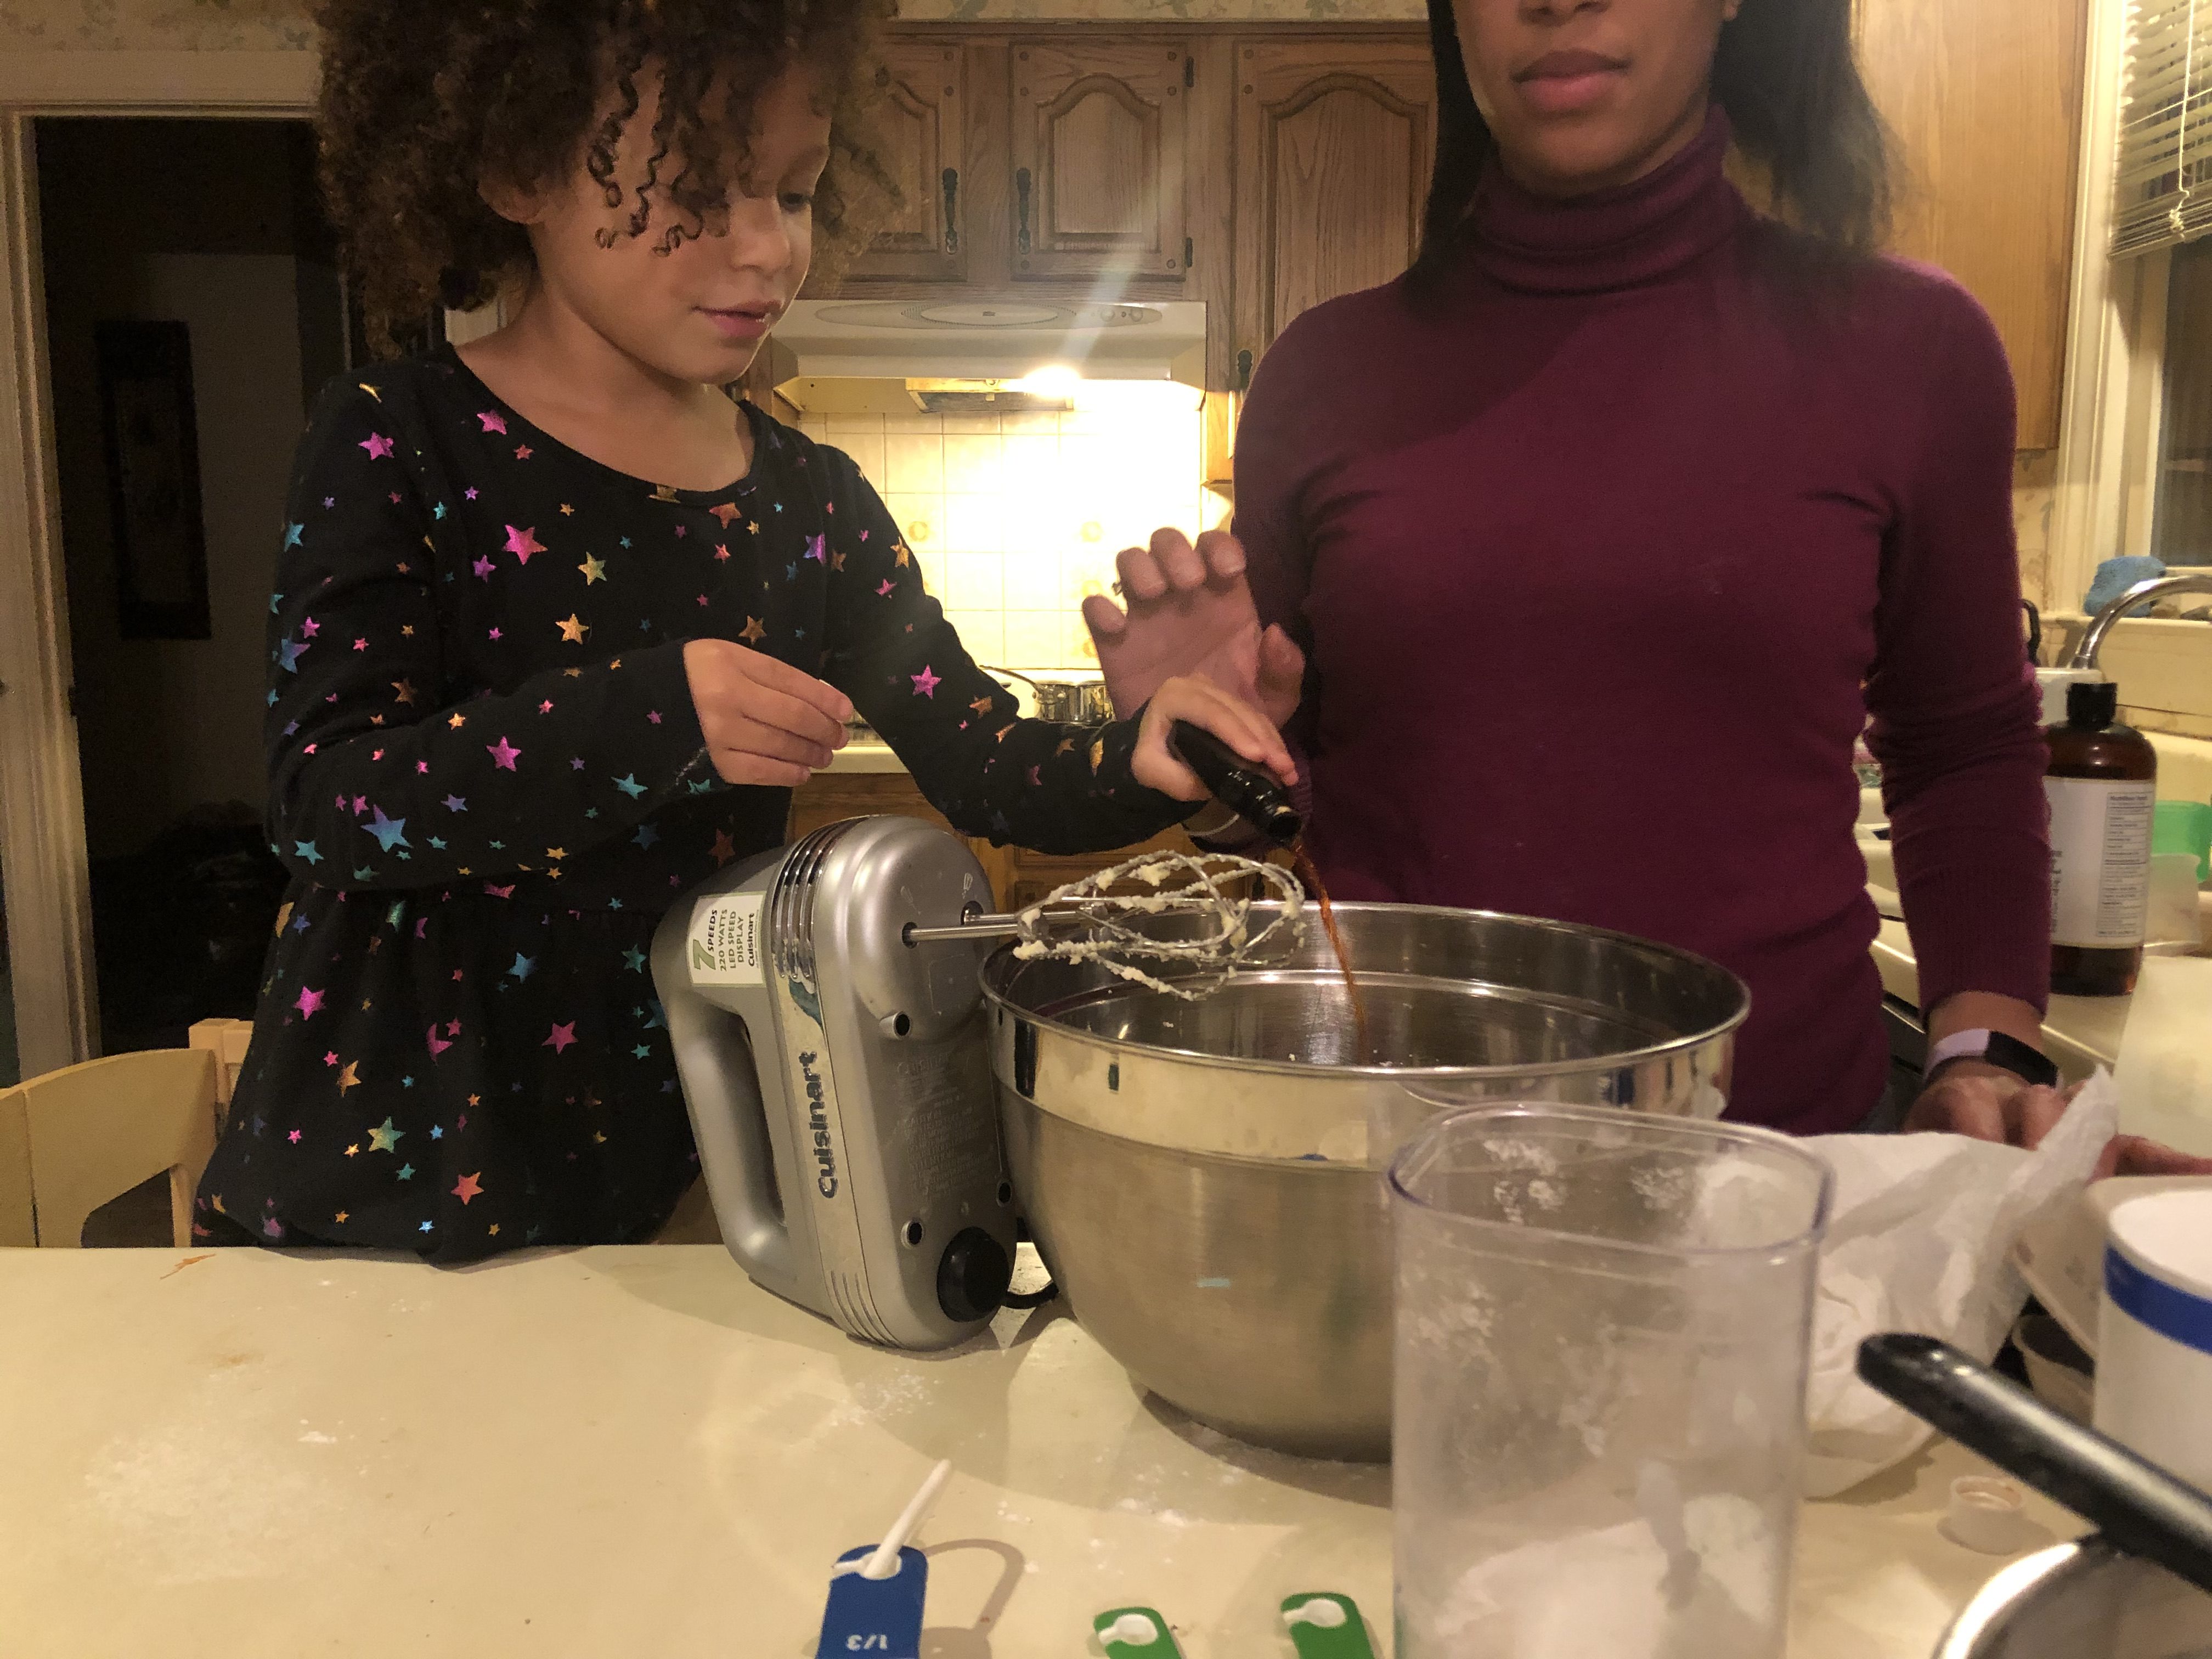
After all the ingredients were gathered, Audrey and I decided to go ahead and make the cookie dough that night so it had plenty of time to cool before rolling out and cooking. Making the cookie dough was probably the easiest part of this whole #nailedit operation. You know, sifting of the dry ingredients, softening and creaming the wet ingredients and then adding them all together and mixing away being careful not to make a giant flour cloud in the process.
A couple of days later we decided to tackle the hard part: The cooking and decorating of the cookies.
My coworker who is BRILLIANT at doing this lent me two cookie cutters; a heart and a unicorn (because I’m thinking this is all going to be easy peasy lemon squeezy). The first set of disasters started with the flouring of the board. The recipe tells you to put flour on the board, I even went a step further and floured my rolling pin. What it DIDN’T tell you was that you should ALSO flour the cookie dough itself and that as the cookie dough heated up from you manipulating it to keep adding flour. The first roll I did, I managed to get about half of the dough stuck on the rolling pin. Naturally, I’m thinking, “Awesome, fewer cookies I’ll have to cook and decorate!” But I quickly figure out how to remedy this problem and proceed to do a nice job of rolling out the dough.
The next disaster happened shortly after I rolled out the dough . . . the dough proceeded to stick to the cookie-cutter! I mean, OF COURSE, IT DOES!! Why would one think to flour the cookie cutters after you’ve basically added another cup of flour to the dough, the board, and the rolling pin?!
Finally, we have some cookies on a brand new non-stick sheet pan ready to cook.
In the oven, they went at 375 degrees for 10 minutes (the recipe calls for 12 but since I don’t know what I’m doing, I’d rather have underbaked than crispy as is my MO). Now while the cookies are baking, we put the dough back in the fridge, and I spend the next 10 minutes trying to explain and console an impatient 4.5-year-old as to why we can’t decorate the cookies RIGHT.THIS.VERY.SECOND. I don’t even have the heart to tell her that even after the cookies are done baking, they still have to cool down!
So Audrey and I spend the next hour, rolling out cookies, letting them cook, and then allowing both the cookies and the pan to cool before doing it all over again. And finally, all the cookies are baked!
And so begins the messiest and second hardest part of this #nailedit challenge–the royal icing.
I pull up my recipe, sift the dry ingredients, add the wet ones and mix. Um, every time I’ve ever seen royal icing, it’s silky smooth. Why in the world does it look like I’ve opened up about 100 packets of silica desiccants and poured them in this bowl instead of royal icing?! I quickly google “how to smooth out royal icing” which tells me to add warm water, cream of tartar, and meringue powder. Luckily, my coworker who let me borrow her cookie-cutter had given me some meringue powder because I wouldn’t even know where to find that!
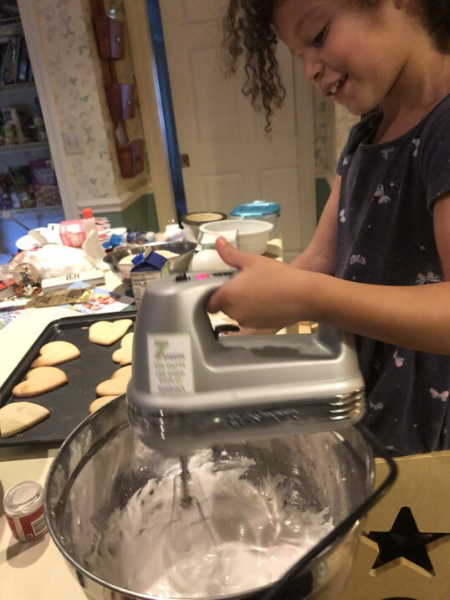
After adding these ingredients to stodgy icing, I start mixing it up and notice it’s finally how I’ve pictured it. I get it to a decent consistency and decide to split the icing into two separate bowls. One bowl for the white border on the cookies and one to make different color icing.
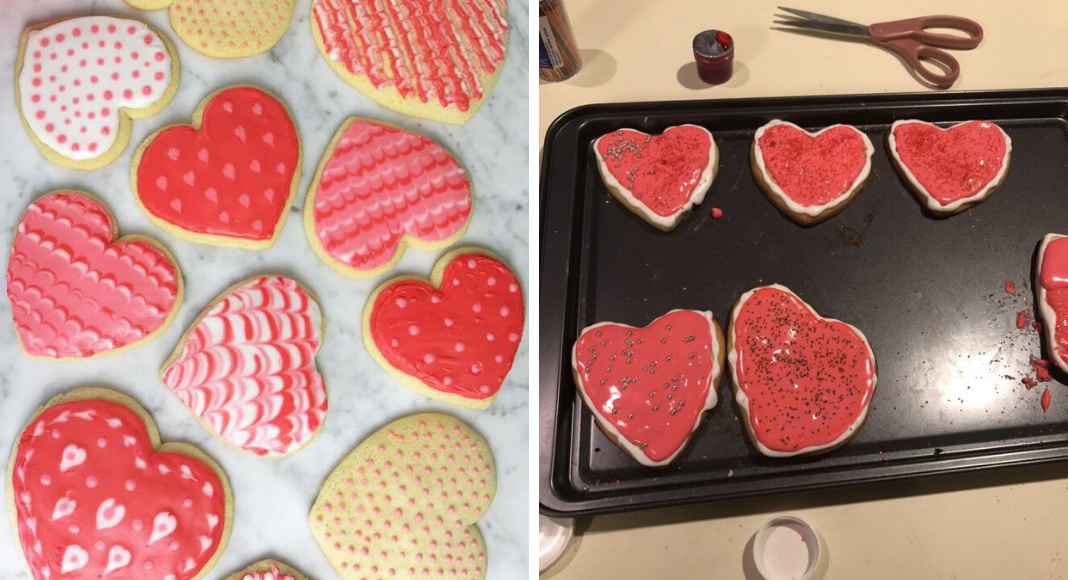
The fourth disaster comes in the form of figuring out how to get the icing into the piping bag by making the least possible mess. I still have no idea. But once I filled the bag with enough icing, I quickly piped a white border on all of the heart-shaped cookies. I then poured some of the icings into a tiny paper cup, added some red food coloring, and let Audrey mix it together. I then placed it into a piping bag for her to ice the cookies with. As she iced, I went behind her with a toothpick and moved the icing around to fill the whole cookie. Once we finished icing all the cookies, she took her special sprinkles and decorated the tops. We then sat and ate our accomplishments!
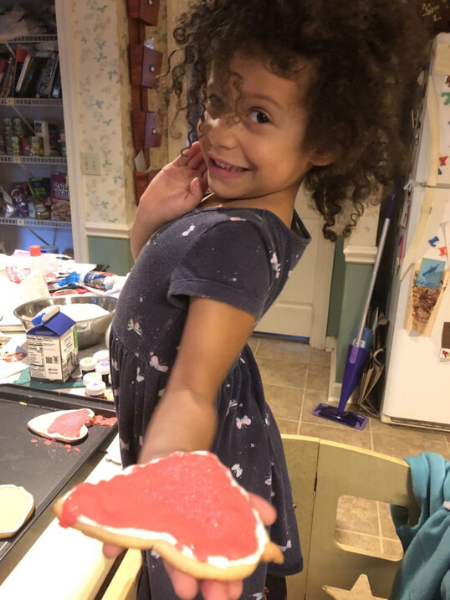
As I said in the beginning, I will let you decide if we #nailedit or not, but I think we did a great job! We had fun, made a big mess, and the cookies don’t taste half bad. Will I be doing this again? Making the cookies, sure. Decorating them? Let’s just say, we cut out the unicorns, but they sit naked on a plate.


")
